
Lets see how to create it.(Description with images)
Follow the instructions
Create official Google+ page
You must have a Google plus Account to create Fan page.
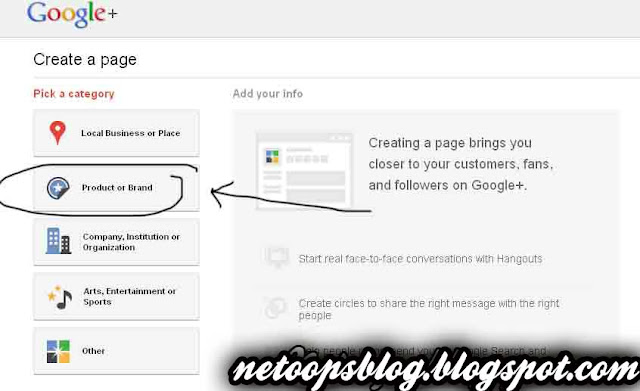
- Sign In to your Google account and go to this LINK
- Click on Product or Brand
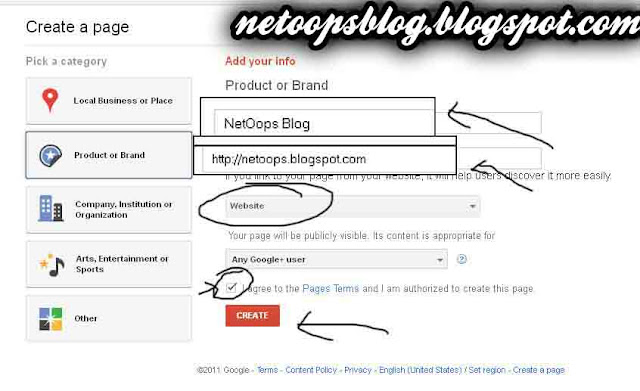
- Give the name of page you need to create(Blog/Site Name)
- Choose Website from the list
- Make sure you check the box below it
- Click on CREATE
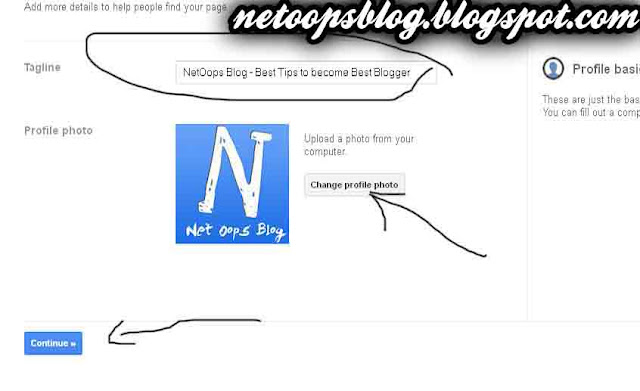
- The give your blog title and upload your Blog LOGO, If you have no LOGO for Blog click HERE
- Click on Continue
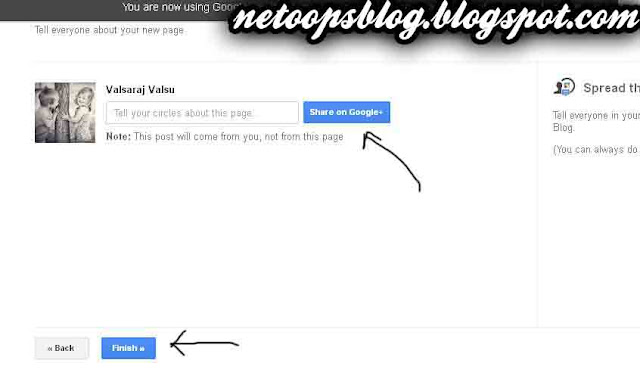
- Page creation is almost finished.Now you can share your Google+ page by click on Share on Google+
- Click on finish ..Done..your page has been created sucessfully.
How to add Google+ Badge to your Blog
After finishing creating page ,you can see a button Get the Badge, Click it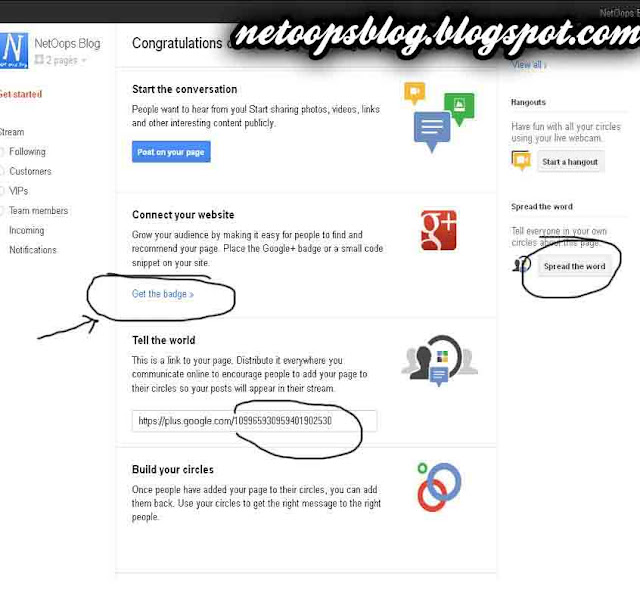
- It will redirect to the page like following picture.
- you can see your page link,you can share it.
- Choose the style of your G+ badge
- After that if you want check the box HTML5 valid syntax
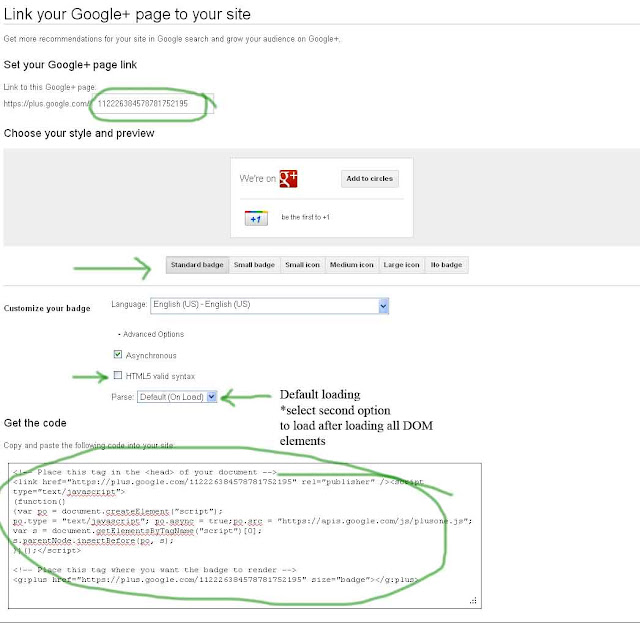
- Then Copy the code in the text box
- Go to your Blogger Dashboard
- Select Design->Page Elements click on Add Gadget
- A pop up window will appear look it carefully and find HTML/JavaScript
- Enter gadget title(eg:Share in Google Plus) and Paste the code on the content textbox
- Click on SAVE..,Done..
No comments:
Post a Comment