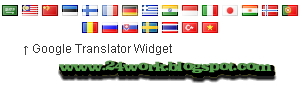
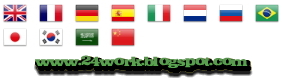
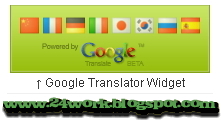
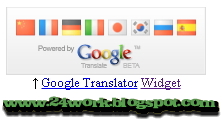
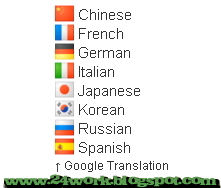
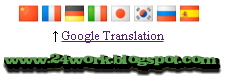
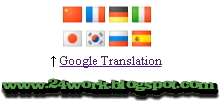
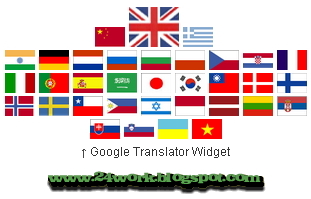
Installing translete on blogs is very necessary because there could be visitors from foreign countries who stray blog you, but that should be taken to ensure that no errors occur then translate your blog must use the official language, not language or slang market.Let your readers easily translate your blog with this highly compact widget. This blog translator is powered by Google Translate. The languages available at the click of a flag are Arabic, Bulgarian, Chinese (simplified and traditional), Croatian, Czech, Danish, Dutch, Finnish, French, German, Greek, Hindi, Italian, Japanese, Korean, Norwegian, Polish, Portuguese, Romanian, Russian, Spanish and Swedish.I hope no one could have seen a huge list anywhere. Now This widget gives your readers easily translate your blog.
How to add the Google Translate Widget to your blog:BloggerI have to write two set of instructions for each steps, as some of you are using the default layout, and some of you are using the new layout. So, let's see how to install this cool widget in your blog..
Step 1:
If you're using the old Blogger interface: Go to Dashboard - Design - Page Elements - Add a Gadget.
Add a Gadget of HTML/JavaScript type.
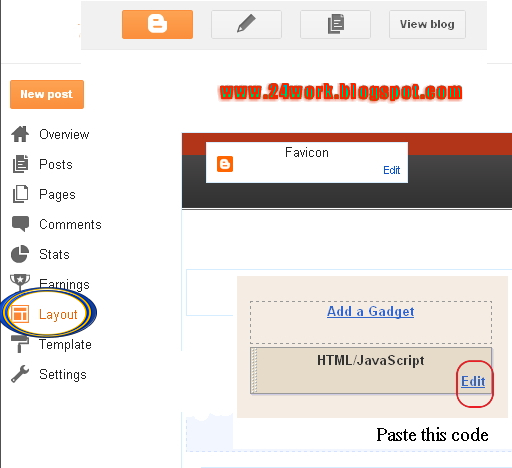
If you're using the new Blogger interface: Go to Dashboard - Layout - Add a Gadget
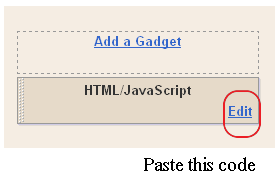
2.Click on 'Add a Gadget' on the sidebar.
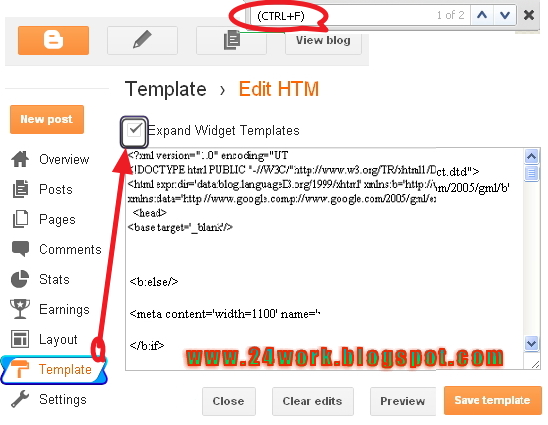
3.Select 'HTML/Javascript' and add the one of code given below
4. Now Click On Save 'JavaScript' You are done.
WordPress1. Login to your Admin panel > Presentation tab > Widgets tab
2. Paste the code into the Text Widget. If there’s no Text Widget available, add one.
3. Add a title. Ex: Translate, Translate this page, Google Translate (Optional)
4. Save.
Joomla site1. Login to your Admin panel > Modules – Site Modules > click New
2. Paste the code into the Custom Output content box
3. Adjust module details and menu item links if necessary
4. Click Apply or Save.
...............................................................................
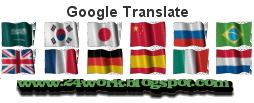
Google Flag Translate Widget For Blogger / Blogspot 01

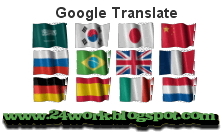
Google Flag Translate Widget For Blogger / Blogspot 02
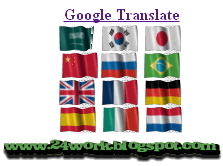
Google Flag Translate Widget For Blogger / Blogspot 03
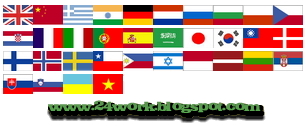
Blogspot TutorialGoogle Flag Translate Widget For Blogger / Blogspot 04
Google Translate


 Blogspot Tutorial
Google Flag Translate Widget For Blogger / Blogspot 05
Google Translate Blogspot Tutorial
Google Flag Translate Widget For Blogger / Blogspot 06
Google Translate Blogspot Tutorial
Google Flag Translate Widget For Blogger / Blogspot 07
Google Flag Translate Widget For Blogger / Blogspot 08
Blogspot Tutorial
Google Flag Translate Widget For Blogger / Blogspot 09
Google Flag Translate Widget For Blogger / Blogspot 010
Google Flag Translate Widget For Blogger / Blogspot 011
Google Flag Translate Widget For Blogger / Blogspot 012
Google Flag Translate Widget For Blogger / Blogspot 013
Google Flag Translate Widget For Blogger / Blogspot 014
Google Flag Translate Widget For Blogger / Blogspot 015
Google Flag Translate Widget For Blogger / Blogspot 016
Google Flag Translate Widget For Blogger / Blogspot 017
Google Flag Translate Widget For Blogger / Blogspot 018

Google Flag Translate Widget For Blogger / Blogspot 019
Google Flag Translate Widget For Blogger / Blogspot 20
Google Flag Translate Widget For Blogger / Blogspot 021
↑ Google Translation


")


")


